We include products we think are useful for our readers. If you buy through links on this page, we may earn a small commission. Read our affiliate disclaimer here.
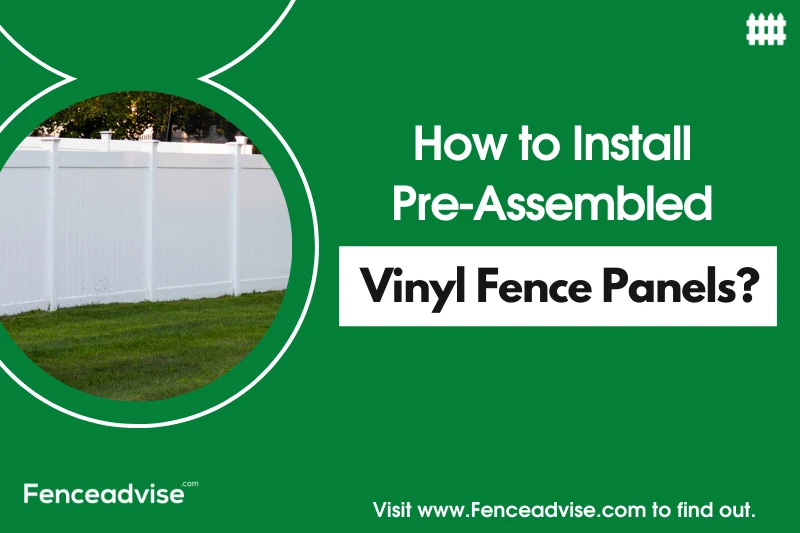
The fence installation process is considered to be one of the most difficult and complicated tasks. However, using pre-assembled vinyl fence panels makes this process easy. These panels are quite convenient because they are pre-assembled which means that you don’t have to assemble them yourself. You can just set them up and fasten them to a suitable foundation.
Find the right fence contractor for your project
How To Install Pre-assembled Vinyl Fence Panels (Step By Step)
Pre-assembled vinyl fence panels are very popular in the market. In fact, they have been around for over 50 years. They make a great option for homeowners because of their ease of installation and low maintenance requirements.
Installing pre-assembled vinyl fence panels is a fairly simple process that can be broken down into a few steps.
The first step is to measure the length of the fence you need. You can do this by measuring the distance between two posts or from one post to the end of your property line.
The next step is to determine how many panels you will need. If you are using preassembled panels, the number of panels you need will be equal to the length of your fence. You can then dig holes for the posts. The holes should be six inches deep and eight inches wide.
Get Matched with Local Fence Professionals
Answer a few questions and we’ll put you in touch with pros near you.
Once you have dug the holes, you can place the posts in them. If you are using a kit, it will come with stakes that you can hammer into the ground to hold the posts in place.
Once you have placed the posts, you can then attach the panels to them. You will need to use a staple gun for this. You should place one staple every two inches. The panels should be flush with the ground.
fence advise editor’s choice
Pro Series 6 ft. x 8 ft. Lakewood White Vinyl Closed Picket Top Fence Panel
You can then attach the fence to the posts using a wire or cable. You should attach it at least six inches above the ground. This will keep animals from digging under your fence. The final step for Installing a pre-assembled vinyl fence is to attach the caps to the posts. This will keep your fence looking nice and neat.
Get Free Quote
Quickly Find a Fence Installation, Repair Contractor Near you
Looking for a reliable fence installation or repair contractor in your area? Look no further! Fill out the form below to receive a free, no-obligation quote from one of our experienced professionals.
Our contractors are experienced and dedicated to providing the highest quality fence services. With a quick response time and competitive pricing, you can trust us to handle all of your fencing needs. Get started today and see the difference a high-quality fence can make for your property!
How To Inspect Your Vinyl Fence Panels For Damage Before Installing?
Inspecting the vinyl fence panels before installing can save you the money and time of having to redo them later. We will look at how to inspect the fence panels for damage that might be caused by installation. Here is how you should do it.
1. Before installing your fence panels, you should check the panels for any damage. Look for any cracks or holes in the vinyl fence panels.
2. Inspect the vinyl fence panels for any dirt or debris that may have gotten trapped in the panels during shipping. If you find any, clean it off with a soft brush and water.
3. You should also check the vinyl fence panels for any splinters or sharp edges. If you find any, you should file them down with a metal file.
4. Inspect the vinyl fence panels for any warping. If you find any, you should straighten them out with a hammer.
5. You should also check the vinyl fence panels for any rust or corrosion. If you find any, you should clean it off with a wire brush and some sandpaper.
6. Next, you should inspect the vinyl fence panels for any missing or broken parts. If you find any, you should replace them with new ones.
7. After that, you should inspect the vinyl fence panels for any dents or scratches. If you find any, you should smooth them out with a hammer.
If you see any major damage, contact the manufacturer or supplier immediately. You may be able to get a replacement panel from them. If not, you can use a vinyl repair kit to fix it.
Read More
- How to install vinyl fence post on concrete slab ?
- How to install vinyl fence on top of block wall ?
- How far should a grill be from vinyl fence ?
How To Cut Pre-assembled Vinyl Fence Panels?
Pre-assembled vinyl fence panels are a great way to save time and money. But, you may want to cut them down to size. Here’s how:
Step 1: Determine the length of fence you need.
Measure the length of your fence and add 6 inches to each side. This will allow you to cut the panels down to size.
Step 2: Cut the panels.
Use a circular saw to cut the panels down to size. Place the fence panel on a flat surface and make sure it is securely supported. Then, cut along the edge of the fence using a straight edge. Make sure you wear safety glasses and gloves while cutting.
Step 3: Attach the panels to your fence posts.
Use a hammer to drive the fence posts into the ground. Then, use the screws that came with your panels to attach them to the posts.
Conclusion
Installing pre-assembled vinyl fence panels is a very simple and straightforward process with no surprises. The best part is that you won’t have to do any heavy lifting, following the step-by-step guide will help you to install your pre-assembled fence panels in no time. Make sure you choose the right place of installation and have all the necessary tools and equipment because this way you can avoid any potential problems during the installation process.
At FenceAdvise, we pride ourselves on being the most reliable and trustworthy source of fencing information. Our articles are based on only the highest quality sources, including peer-reviewed studies, to ensure that our readers always have access to accurate information. Read more about our Editorial Guidelines, About Us.